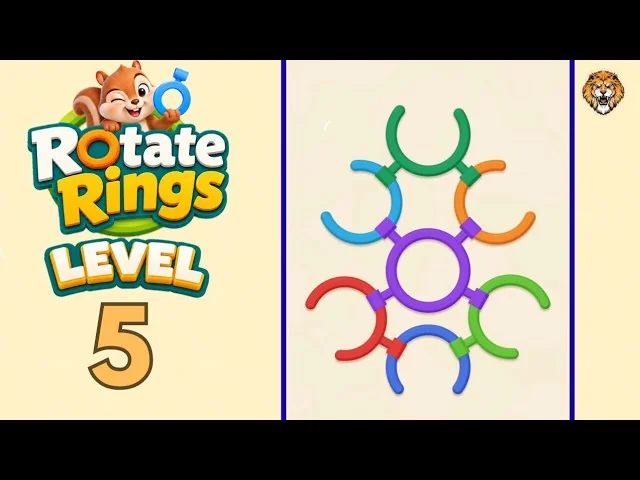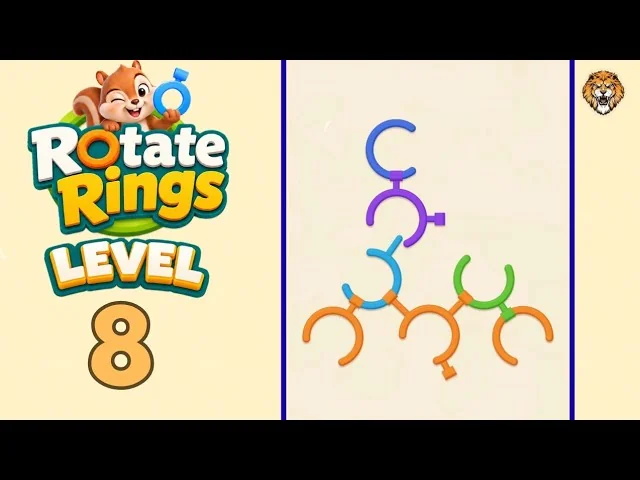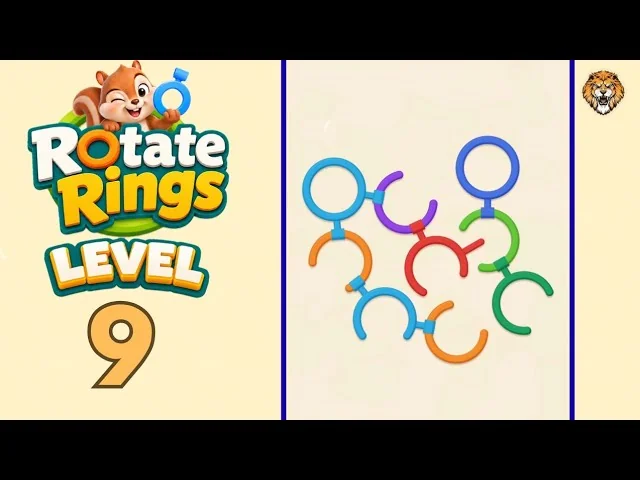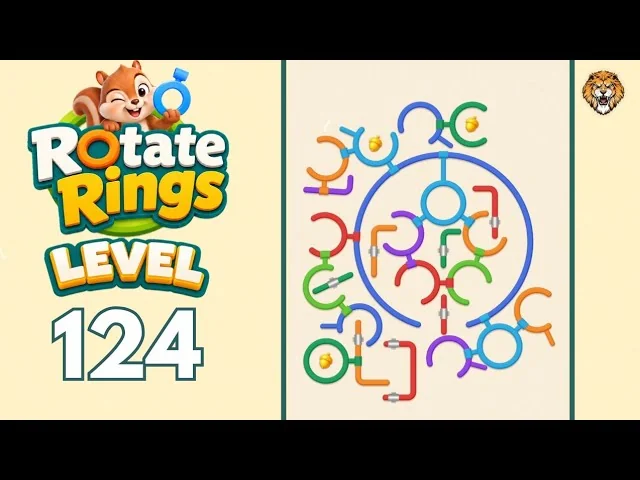
Rotate Rings Level 14 Walkthrough
BeginnerRotate Rings Level 14 solution: 11 turns on a dense board. Turn the upper-right purple ring first, then work down the right side.

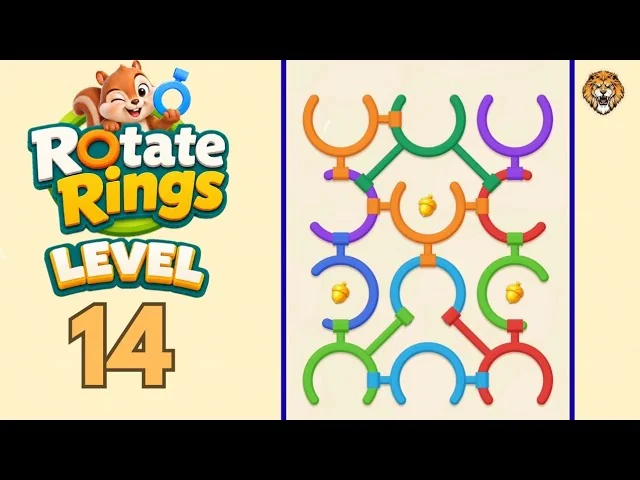
Level board
Step-by-step walkthrough
Prefer text to video? Every turn is below in order — which ring to turn, which way, roughly how far, and whose clamp it is clearing. Keep it open next to the game and work down the list.
Level 14 · Beginner · 11 turns. This is a text-only solve. Many rings share the same colour, so every step names a position as well as a colour.
This is the busiest board so far. Several rings repeat the same colours, and the centre is built around an orange closed ring with a light blue ring beside it. Read the position in each step rather than hunting for a colour.
How the rings work
- A turning ring has a gap. A clamp presses on its rim, and the ring comes free when the gap reaches that clamp.
- The central orange ring is a closed ring. It is a carrier at the start and is released only after the right-hand side has been cleared.
- Colour is not enough on this board. There are several orange, red, green and purple rings, so follow the position words: upper right, centre, lower left, and so on.
- Work from the outer edge toward the centre, then finish the left side.
- One turn can take two rings with it. The eleven steps below are clicks, not the number of pieces removed.
The board at a glance
| Ring | Where | Action | What comes free |
|---|---|---|---|
| Purple | Upper right | Turn — step 1 | Upper-right edge |
| Light green | Right | Turn — step 2 | Right side |
| Red | Lower right | Turn — step 3 | Lower-right side |
| Red | Middle right | Turn — step 4 | Right side clears |
| Orange (closed) | Centre | Turn/release — step 5 | Central carrier |
| Light blue | Centre | Turn — step 6 | Last central clamp |
| Dark green | Above | Turn — step 7 | Two green short bars |
| Orange | Upper left | Turn — step 8 | Upper-left edge |
| Purple | Upper left | Turn — step 9 | Left side |
| Blue | Middle left | Turn — step 10 | Left-centre link |
| Light green | Lower left | Turn — step 11 | Lower light blue ring |
Turn order
Step 1 — Purple ring, upper right
- Action: turn the purple ring at the upper right until its gap reaches its clamp.
- Why: it is an outer ring and holds nothing outside it.
- After this: the purple ring drops.
Step 2 — Light green ring, right
- Action: turn the light green ring on the right until its gap meets its clamp.
- Why: the upper-right purple ring is gone, so this side is exposed.
- After this: the light green ring drops.
Step 3 — Red ring, lower right
- Action: turn the red ring at the lower right until its gap reaches its clamp.
- Why: it is the next outer ring down the right side.
- After this: the red ring drops.
Step 4 — Red ring, middle right
- Action: turn the other red ring, the one at the middle right, until its gap meets its clamp.
- Why: it is the last turning ring on the right side before the centre.
- After this: the middle-right red ring drops and the right side is clear.
Step 5 — Orange closed ring, centre
- Action: turn/release the central orange closed ring now that the right side is clear.
- Why: it is a carrier, so it could not be released while the outer right-hand rings were still pressing on the same group.
- After this: the central orange ring drops.
Step 6 — Light blue ring, centre
- Action: turn the central light blue ring until its gap reaches the last central clamp.
- Why: it is the turning ring beside the orange carrier.
- After this: the light blue ring drops.
Step 7 — Dark green ring, above
- Action: turn the dark green ring above the centre until its gap meets its clamp.
- Why: the central group is gone and this ring is now exposed.
- After this: the dark green ring drops, and the two green short bars beside it fall with it.
Step 8 — Orange ring, upper left
- Action: turn the orange ring at the upper left until its gap reaches its clamp.
- Why: it is the outer ring on the upper-left side.
- After this: the orange ring drops.
Step 9 — Purple ring, upper left
- Action: turn the purple ring at the upper left until its gap meets its clamp.
- Why: it sits just inside the orange ring that has just left.
- After this: the purple ring drops.
Step 10 — Blue ring, middle left
- Action: turn the blue ring at the middle left until its gap reaches its clamp.
- Why: the upper-left side is clear and this is the next ring down.
- After this: the blue ring drops.
Step 11 — Light green ring, lower left
- Action: turn the light green ring at the lower left until its gap meets the final clamp.
- Why: it is the last turning ring on the board.
- After this: the light green ring and the light blue ring below it drop together, clearing the level.
Pro tips
- Use the position, not the colour. There are several red, orange, green and purple rings. "Middle right" and "upper left" are what keep the steps distinct.
- The centre is a pair. The orange closed ring is released first, then the light blue ring beside it turns.
- Step 7 takes three pieces. The dark green ring and the two green short bars leave together; do not look for separate bar moves.
- Leave the left side for last. The upper-left, middle-left and lower-left rings form the final run after the centre is clear.
Level 14 in short
Work down the right side, release the central orange carrier and the light blue ring, turn the upper dark green ring, then finish the upper-left, middle-left and lower-left rings. The last turn takes the lower light blue ring with it.
More beginner walkthroughs
View all →
Featured walkthroughs
The levels players search for most - each with a full video guide.