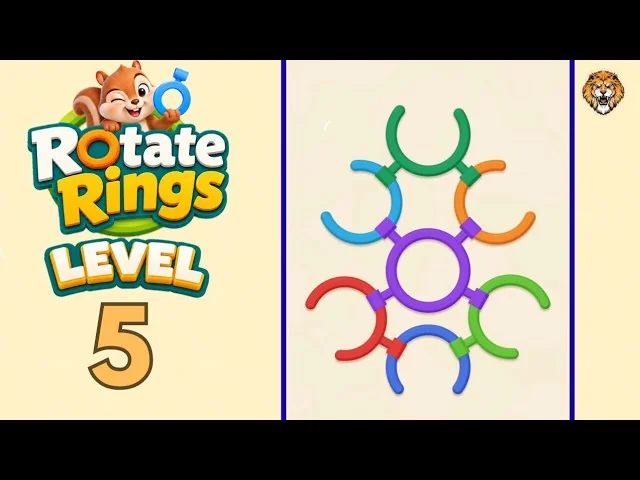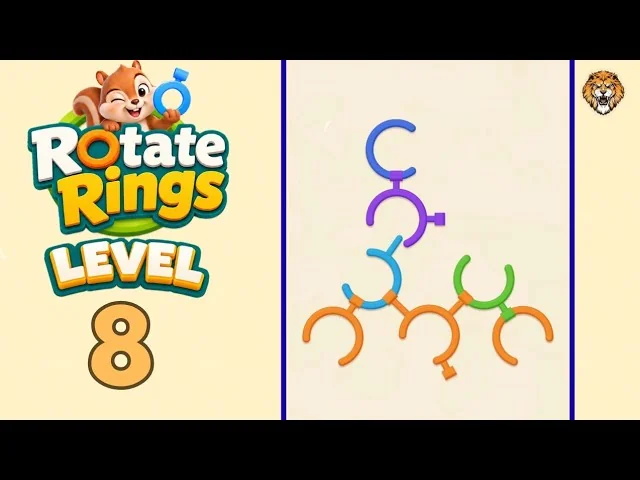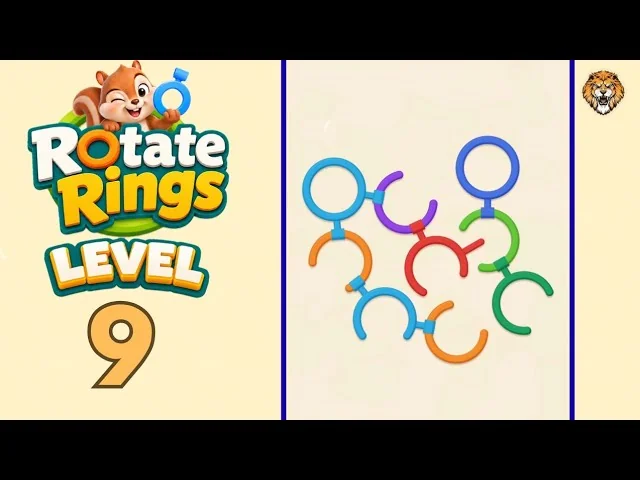
Rotate Rings Level 6 Walkthrough
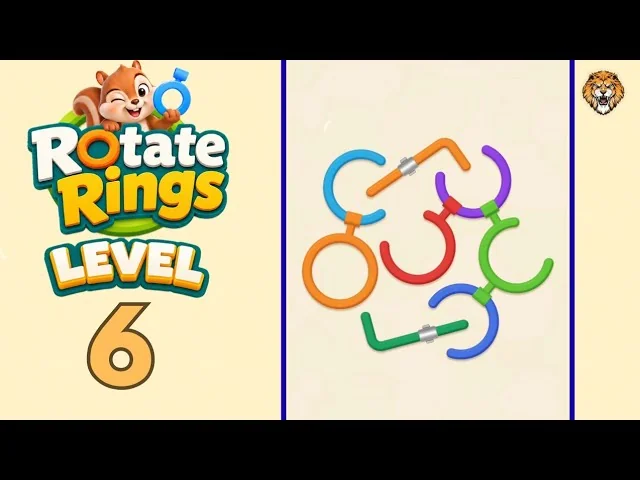
BeginnerRotate Rings Level 6 solution: 6 rings and 2 folding bars in 6 actions. Pull the top orange bar first, then turn the upper-left light blue ring.

Video walkthrough
Shared recording: this upload covers Levels 1-10. If the uploader added chapters or timestamps, use the video description to jump to Level 6.
Player not loading? Watch on YouTube.
Level board
Step-by-step walkthrough
Prefer text to video? Every turn is below in order — which ring to turn, which way, roughly how far, and whose clamp it is clearing. Keep it open next to the game and work down the list.
Level 6 · Beginner · 6 rings, 2 folding bars, 6 actions. This is a text-only solve: every bar is pulled along its silver sleeve, never rotated.
Six rings form a short chain between two folding bars. The orange bar crosses the top of the chain and the green bar closes the bottom. Both bars sit in silver sleeves, so the first move at each end is a straight pull rather than a turn.
How the pieces work
- A ring is a circle with a gap cut out of it. Where two pieces meet, a clamp presses on the rim of the ring it holds. Turn that ring until its gap reaches the clamp.
- A folding bar is a straight or bent piece joined through a silver sleeve. Pull it along the sleeve, away from the ring it crosses. Turning a bar around the board only makes it bind.
- One action can release more than one piece. The step count below follows the clicks in the recorded solve, not the number of pieces that fall.
- Work from the outside in. Clear the bars and the rings that hold nobody before you touch a ring that carries other pieces.
The board at a glance
| Piece | Where | Type | Action | What comes free |
|---|---|---|---|---|
| Orange bar | Top | Folding bar | Pull — step 1 | Opens the top of the chain |
| Light blue ring | Upper left | Gap ring | Turn — step 2 | Orange ring below drops with it |
| Red ring | Middle | Gap ring | Turn — step 3 | Centre of the chain |
| Purple ring | Top | Gap ring | Turn — step 4 | Top layer |
| Green bar | Lower middle | Folding bar | Pull — step 5 | Link between the blue and green rings |
| Blue ring | Lower middle | Gap ring | Turn — step 6 | Blue ring and right-hand green ring |
Solution order
Step 1 — Pull the top orange bar
- Action: pull the top orange folding bar out along its silver sleeve.
- Why: the bar crosses the upper link and traps the rings underneath it.
- After this: the top of the board opens and the upper rings can move.
Step 2 — Turn the upper-left light blue ring
- Action: turn the light blue ring at the upper left until its gap meets the clamp holding it to the orange ring below.
- Why: the light blue ring is the outer piece on this side; the orange ring below cannot come away while it is still held.
- After this: the light blue ring comes free and the orange ring below drops with it.
Step 3 — Turn the middle red ring
- Action: turn the red ring in the middle until its gap reaches its clamp.
- Why: with the upper-left pair gone, the red ring is the next exposed piece.
- After this: the red ring drops and the centre of the chain opens.
Step 4 — Turn the top purple ring
- Action: turn the purple ring at the top until its gap lines up with its clamp.
- Why: it is now the last loose piece on the upper half of the board.
- After this: the purple ring drops. Only the lower green ring, the blue ring and the lower green bar remain.
Step 5 — Pull the lower green bar
- Action: pull the lower green folding bar out along its sleeve.
- Why: the bar still crosses the link between the blue ring and the green ring on the right.
- After this: the bar leaves and the lower link loosens.
Step 6 — Turn the lower blue ring
- Action: turn the blue ring at the bottom until its gap reaches the clamp on the right-hand green ring.
- Why: this is the last clamp left on the board.
- After this: the blue ring and the green ring on the right drop together, clearing the level.
Pro tips
- Pull the bars before turning the rings beside them. The orange bar at step 1 and the green bar at step 5 both cross a link; trying to rotate a ring under a bar usually just jams the pair.
- Do not twist a folding bar. The silver sleeve shows the direction: pull straight out along the sleeve.
- Two moves free a pair. Step 2 takes the light blue and orange rings together, and step 6 takes the blue and green rings together. Do not look for a separate move for the second piece.
- The board is solved in six clicks. Two are pulls and four are ring turns; if you have made more moves than that, you are probably working on a ring that is still held from the other side.
Level 6 in short
Pull both folding bars, turn the four exposed rings, and the chain comes apart. The orange ring follows the light blue ring at the top; the green ring follows the blue ring at the bottom.
More beginner walkthroughs
View all →
Featured walkthroughs
The levels players search for most - each with a full video guide.